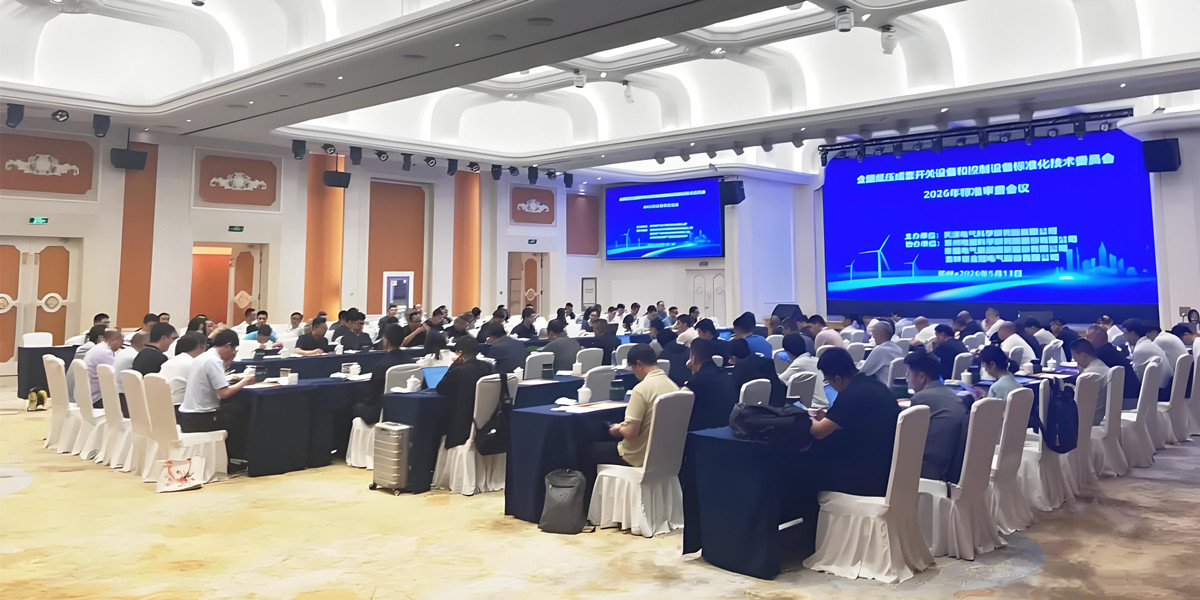
Install and configure cPanel

April 19, 2008 – 10:51 am

1. You must complete a server installation of one of the supported operating systems listed on cpanel.net main page. (Install suplimentary wget and lynx)


2. You must have a server with the following minimum specifications:


At least a Pentium 3 500 MHz processor

At least a 10 GB hard drive

At least 256 MB of RAM


3. The following partitions are recommended prior to installing cPanel:

001 GB /

050 MB /boot (No seperate /boot for FreeBSD)

001 GB /tmp

010 GB /usr

007 GB /var

001 GB swap (swap should be 2x RAM)

Remaining space to /home


Note: The above partitioning scheme is assuming a 40 GB hard drive. If you have a larger hard drive, you should increment /usr & /var accordingly.


If you do not have a partitioning scheme similar to the above, it is recommended that you format & repartition your machine as you may run into operational issues in the future.


mkdir /home/cpins

cd /home/cpins

wget http://layer1.cpanel.net/latest

sh latest


At this point the installation has started and may take anywhere from 30 – 60 minutes to complete. At no point during the installation should you be prompted for user input. You will know the cPanel installation has been completed by the screen output coming to a stop & the statement “Done.” is printed on your screen. You should then hit “ctrl c”† to continue.


Note: You must be on a stable connection to install cPanel. If your shell session disconnects during a cPanel install the cPanel installation will be aborted. You can restart the cPanel installation by completing “sh cpanel-*”† again, however it is recommended that you reformat your machine & start over to ensure a clean slate before placing the machine into production.


Connect to WHM in a web browser: https://server_ip:2087


Follow the instructions and click next


On “Server Setup” section click on “Edit setup”.

a) Type a email address at “Server Contact E-Mail Address”

b) Insert primary and secondary Name Server and click on “Assign Ip Address” and “Add An A Entry for this nameserver” for every NS. (You need to have a supplimentary IP for second Name Server).

c) Click on “Save”


Click on “Tweak Settings” and check/uncheck what do you consider necesarry.


On “Tweak Security” click “SMTP Tweak” and check “Allow connections to localhost on port 25.” Click “Enable”


Click on “Update Config” ans select build type (I recomand “Automatic (RELEASE tree)”


“Shell Fork Bomb Protection” click on “Enable Protection”


“Service Configuration”

“FTP Configuration” I recomand to disable “Anonimous Ftp” and switch to “Pure-ftpd”


“DNS Functions”

“Add an A Entry for your Hostname” and click on “Add the entry”


“IP Functions”

If you have a IP Class click on “Add a New IP Address” and follow the instruction


“Software”

Click on “Update Server Software” and “Update System Software” and wait….

Click on “Update Apache” leave the check box selected and I recomand to select suplimentary just “GD” and “IMAP” and click “Start build”


“cPanel”

Click on “Addon Modules” and install “modsecurity” and “addonupdates”

Click on “Upgrade to Latest Version” and “Click to upgrade”


I recomand to install additional monitoring software like phpSysInfo http://phpsysinfo.sourceforge.net/ (Install the scripts into a domain hosted in server, www.domain.com/info/)

You must be logged in to post a comment.